This will give you a bit of a help towards editing your photos before you post them online, allthough what you edit, if anything, is totally up to you. Some peope prefer not to touch their photos, others like to go wild. Personally, I like to give mine a quick look over and if anything, just boost the contrast levels a bit, especially if it's something colourful, like a landscape.
For this, i'm going to be using my sunset photo I took the other night.
So, your photos off the camera. First thing to do, get it into photoshop. Open photoshop, and find where your photo is.
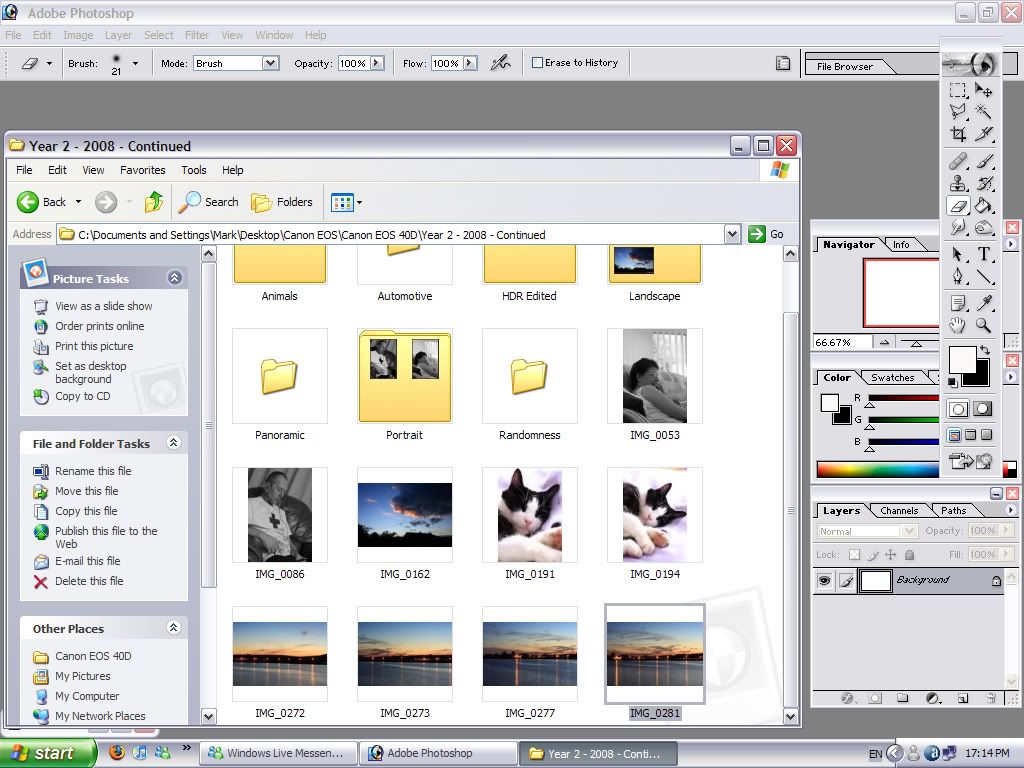
I tend to drag it out of the folder, and into photoshop, but it's each to their own. You can do it by going to File > Open >
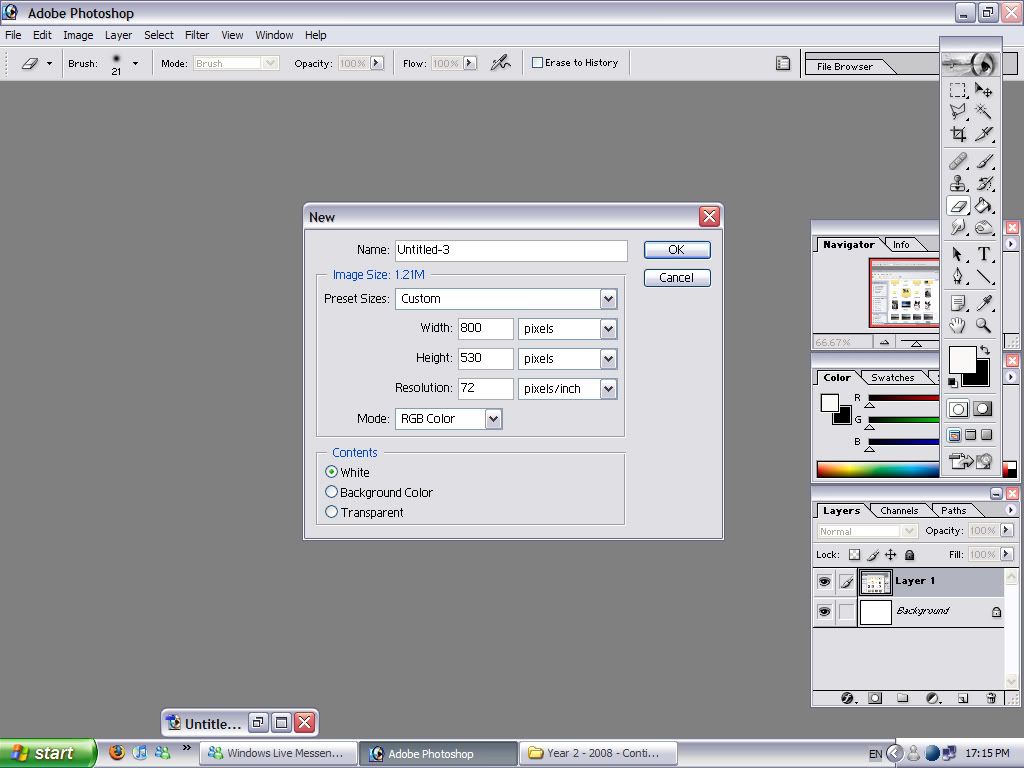
Next, the photo's going to be huge off the camera, and far too big for online use, so I needl to resize it. I find that 800pixels by 530pixels works the best, but again, each to their own.
Go to File > New > and enter the dimentions into the box as is shown below.
Now, open your photo into photoshop.
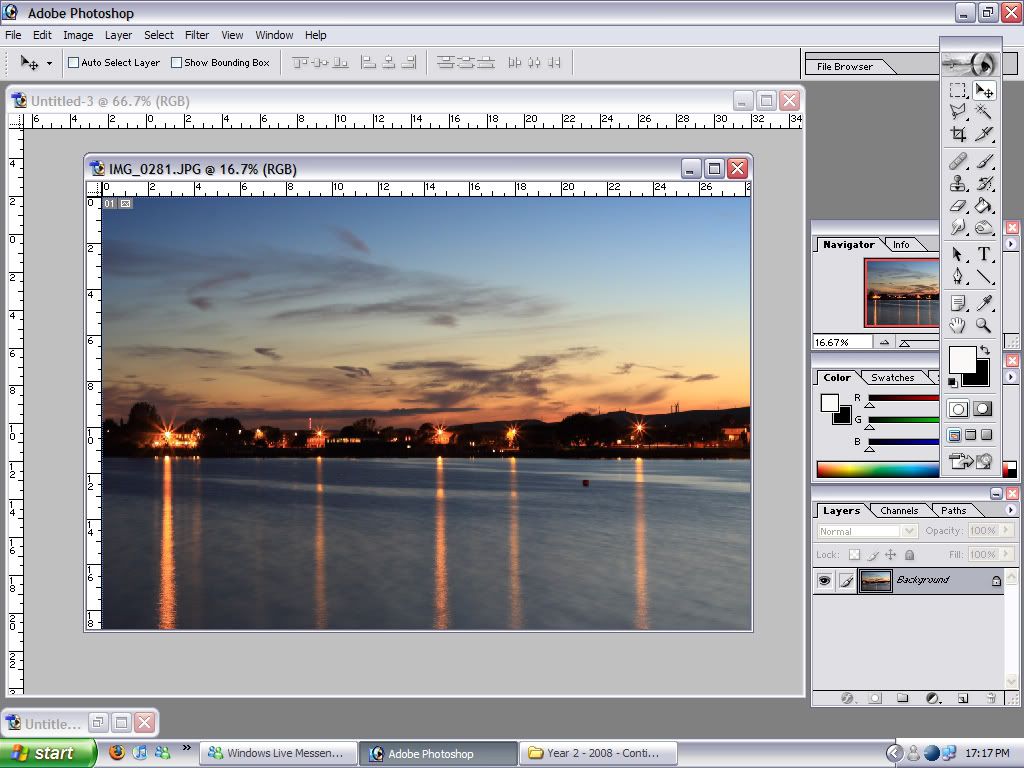
You've now got the full size photo open, aswell as the new document you want to resize into. Click on the full size photo (also referred to as High Res) and drag it out of the box and into the blank document you'll be resizing your photo to. It'll be huge in the new space, so you now need to resize it.
Find the edges of the high res image by clicking using the pointer tool (top right tool on the tool bar) and dragging diagonally until you find a corner. Then, go to Edit > Transform > Scale. You'll notice handles now appear around the image, use the corner handle and drag it, again, diagonally until it's the size of the box, making sure all the resizing lines are on the edges of the box, press enter on your keyboard & you should have something like below.
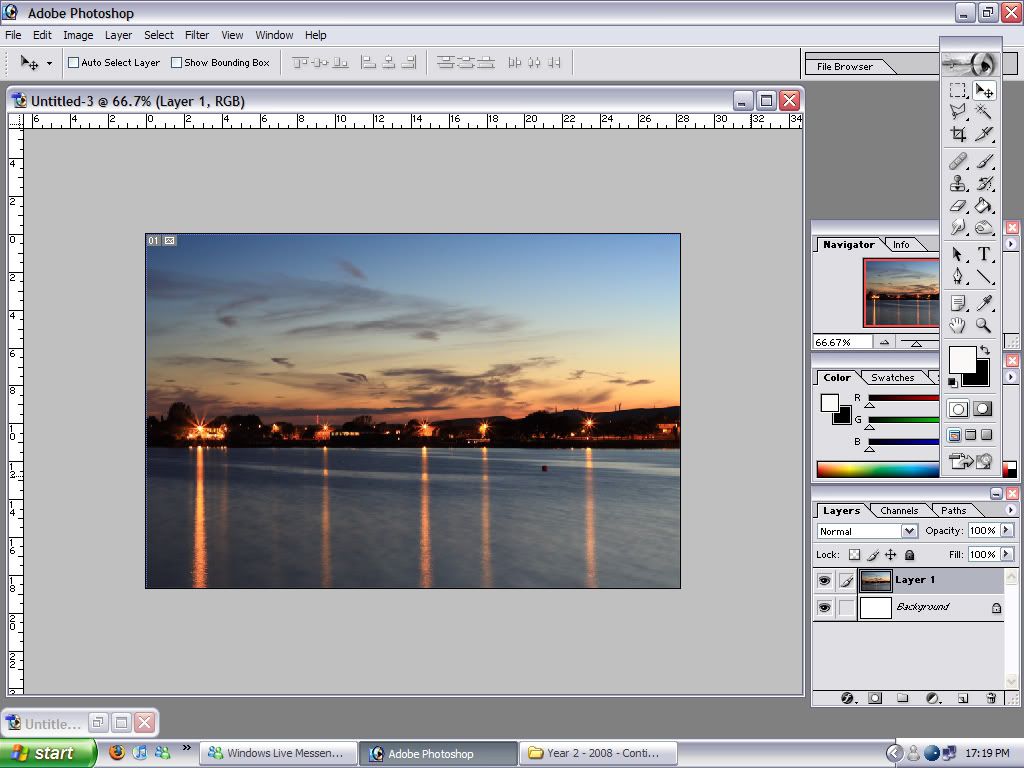
You've now go your photo to a decent size for online use, so you can now start to play.
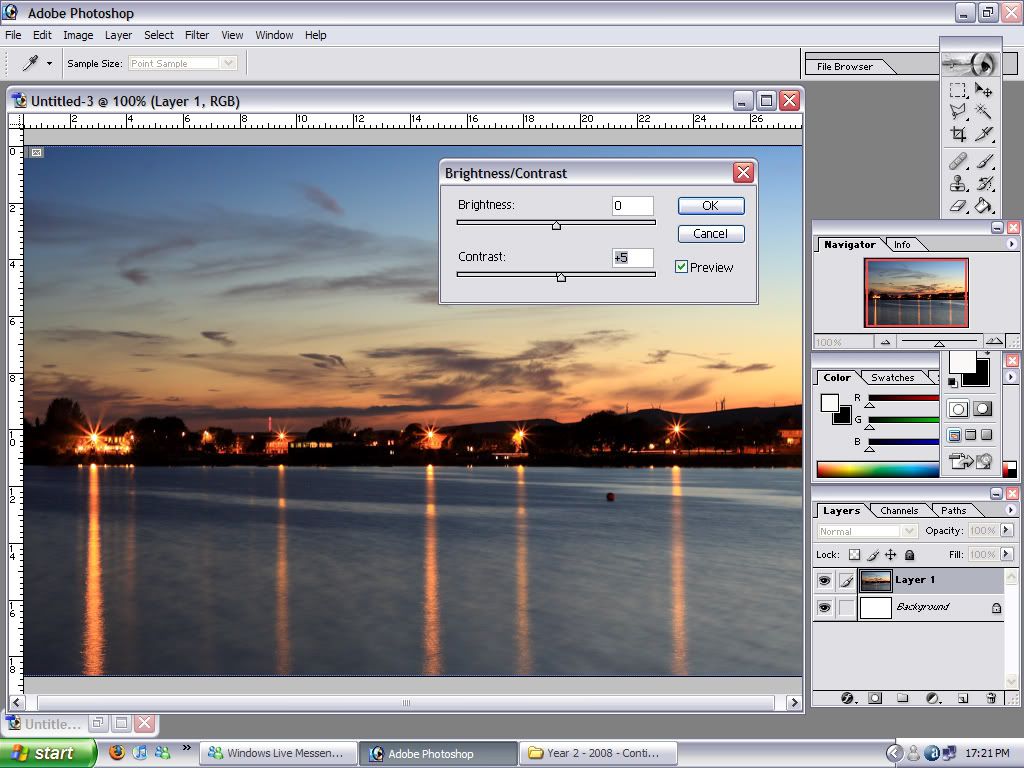
First thing I do, but without going mad, is add some contrast. Go to Image > Adjustments > Brightness & Contrast.
You'll notice a box will appear like below.
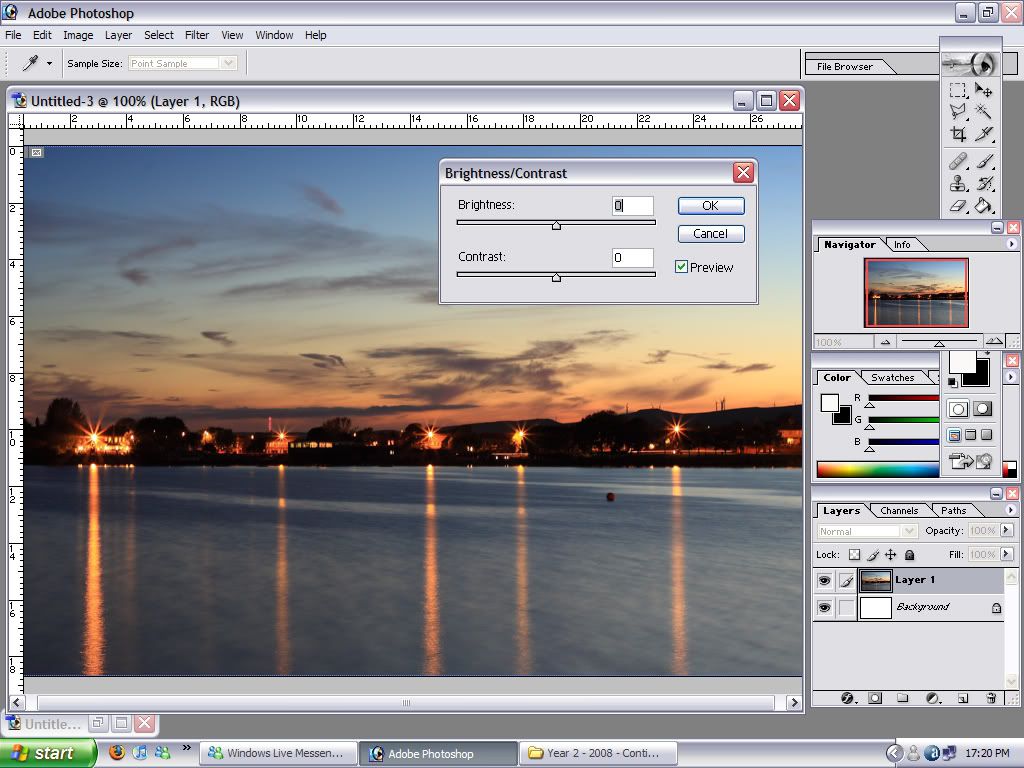
As I didn't want to go OTT with my photo, and just wanted to add a bit of a colour boost, I upped the contrast slider by 5, as shown below.
That added some depth to the colour, especially the oranges, but I want to add a bit more. This time, instead of using Brightness & Contrast, I used the Hue/Saturation pallet.
Image > Adjustments > Hue/Saturation.
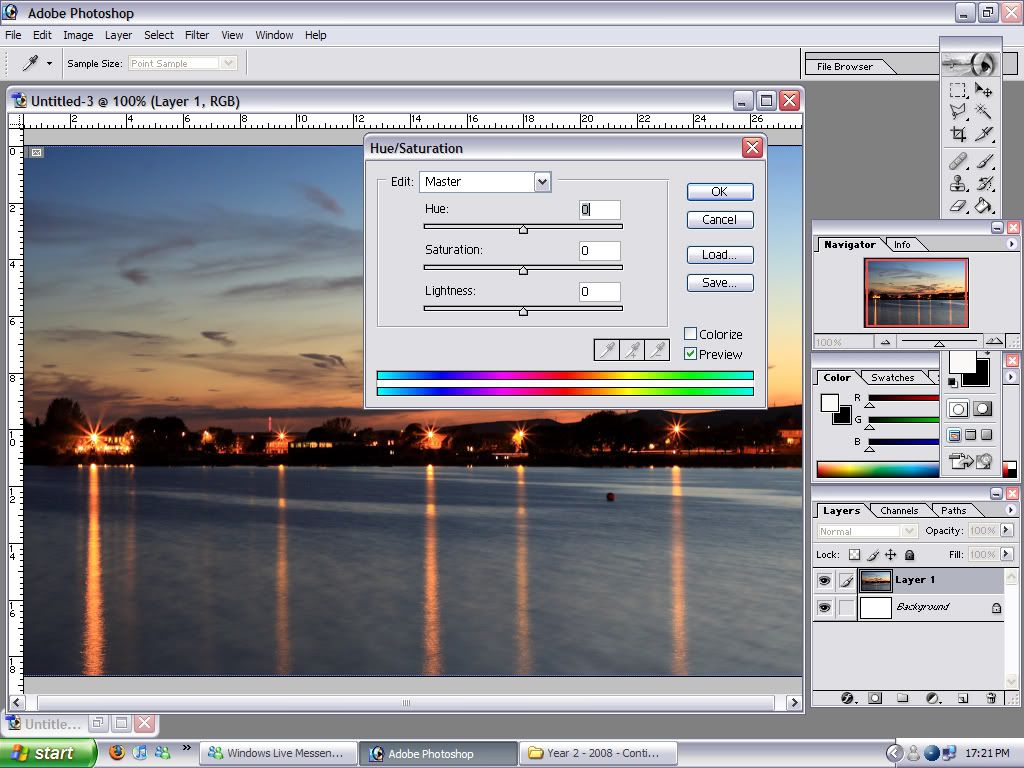
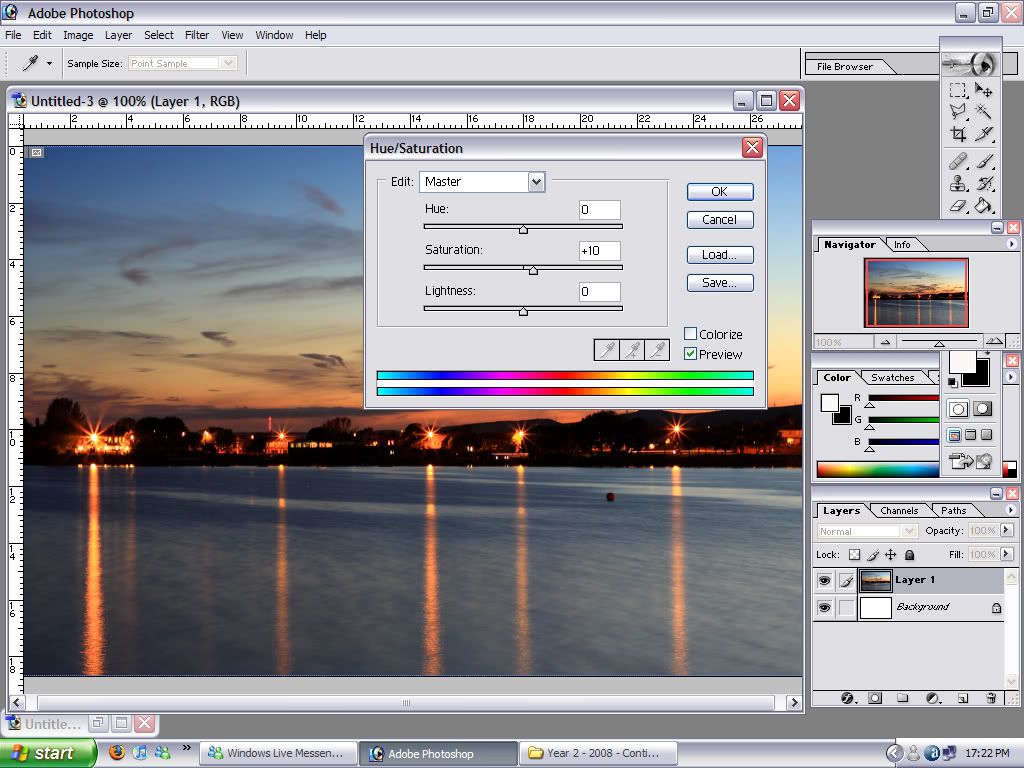
I added a small tweak of Saturation, and took the slider up by 10 as shown.
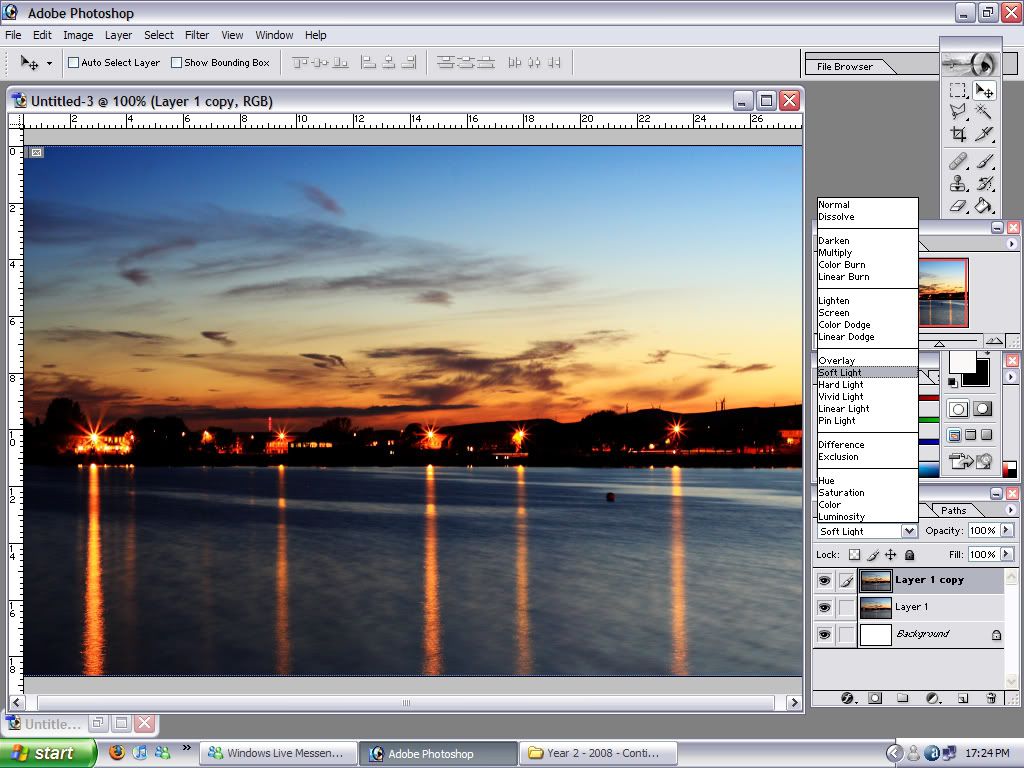
Next, i'm gunna bring out some more of that orange in the sky, but I don't really want to touch anything else in the image, so to do this i'm going to duplicate the layer and use a blending mode.
Right click on your layer (layers box) and click on duplicate, you'll be faced with something like below. Click Ok and you'll notice it will duplicate that layer.

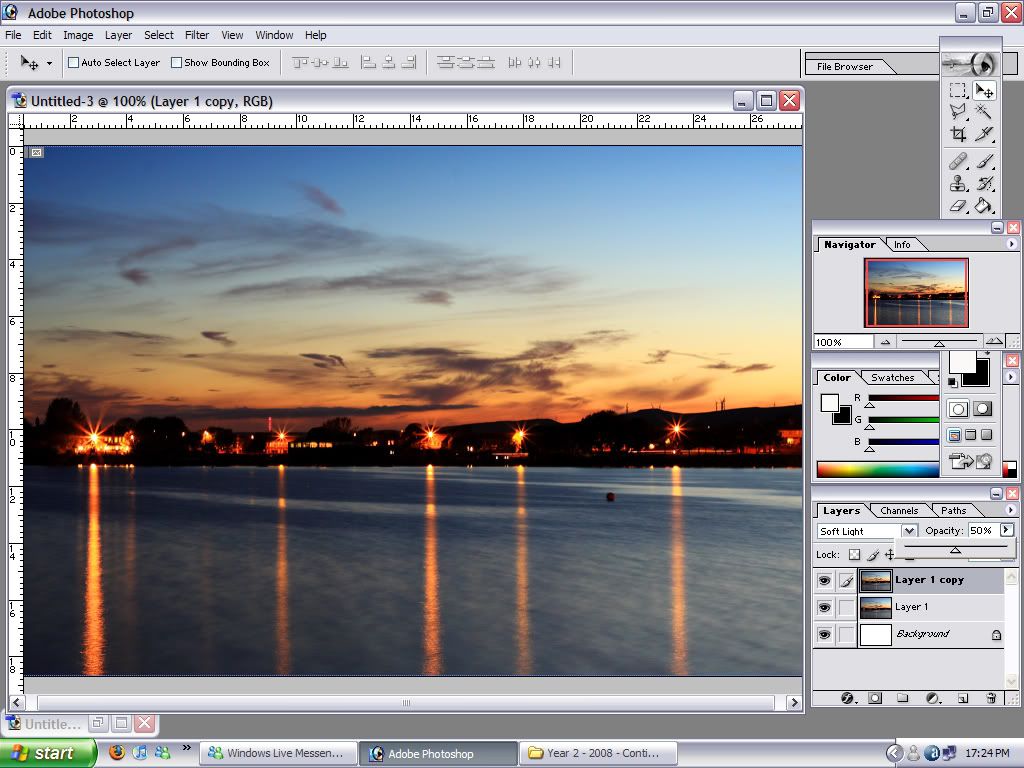
Click on the blending modes box, as shown below, and I selected 'soft light'.
As you can see, it's drastically darkened the photo. I don't want it this dark, as it spoils it. So, what i'm going to do is reduce the opacity of the layer to 50%, which will remove some of that uber contrast.
That's looking better, but as I said, I don't want anything but the orange in the sky to have a bit more contrast/colour boost. So, I'm going to rub away what I dont want, leaving only the sky.
I selected the rubber tool, and right clicked on the photo which brought up the rubber sizes pallet.
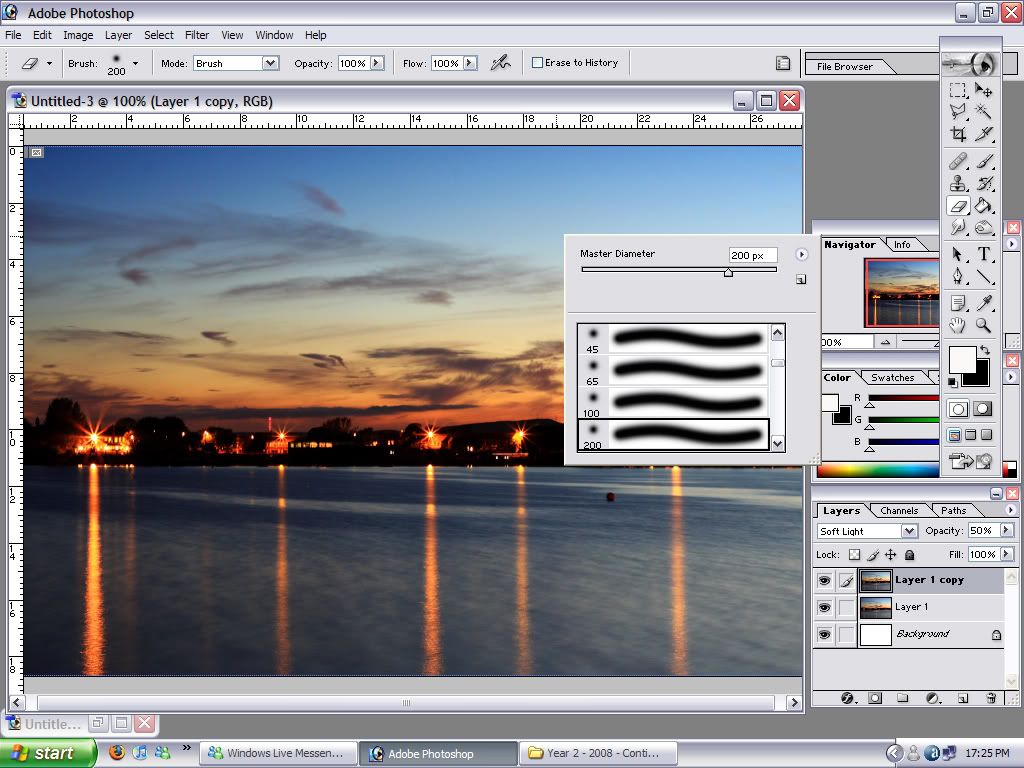
I selected a 200 sized, soft edged rubber, and began rubbing away the bits I didnt want as shown below.
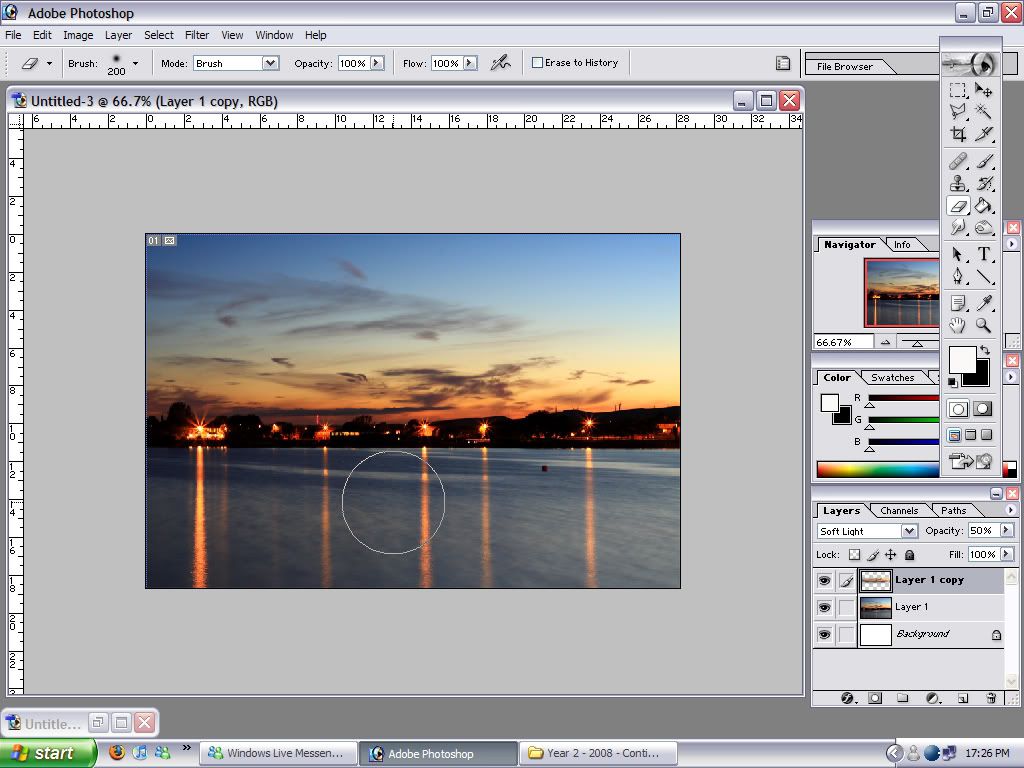
Once I had done this, I pressed CTRL + SHIFT + E to flatten that layer, to my original layer, which just tidies things up a bit in your layers box.
The image is pritty much where I want it now, it's not looking mentally tweaked, but it's got a bit more depth to it.
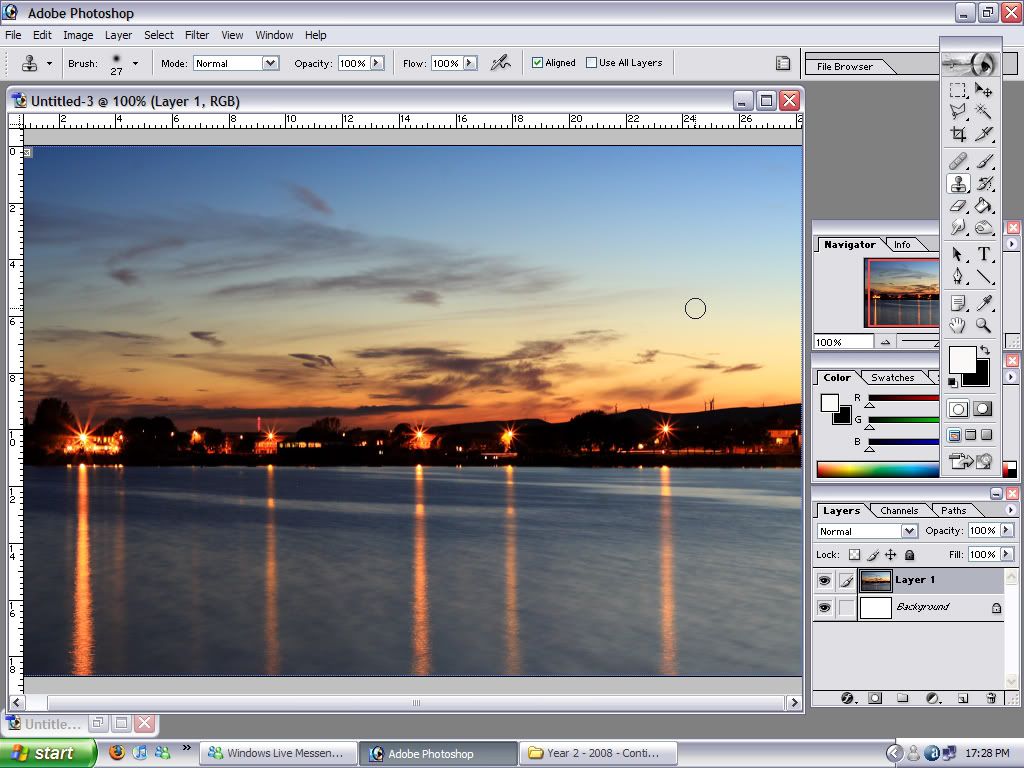
If you look on the image, theres a buoy floating in the water which I didn't see when I took the photo, and things like this can be distracting to the eye. So, i'm gunna use the clone tool to remove this.
The clone tool can be a bit tricky to use, so give it a little bit of practise first before using it.
Once i'd done that, the buoy was gone, and nobody will know it was their.
That's pritty much it for editing.
One thing I always do, with every image, is sharpen it. It's a must really, as even though photos are sooper dooper now-a-days out of the camera, they're still slightly soft. Giving them a sharpen always works a treat, but don't go mad, because it'll spoil the photo.
To do this, go to Filter > Sharpen > Sharpen.
I also add my boarder & logo to my photos, but each to their own.
The best way to learn photoshop, is to just have a play on it for an hour. You'll soon pick it up & it's awesome if you can use it, especially for photography.
End result:-
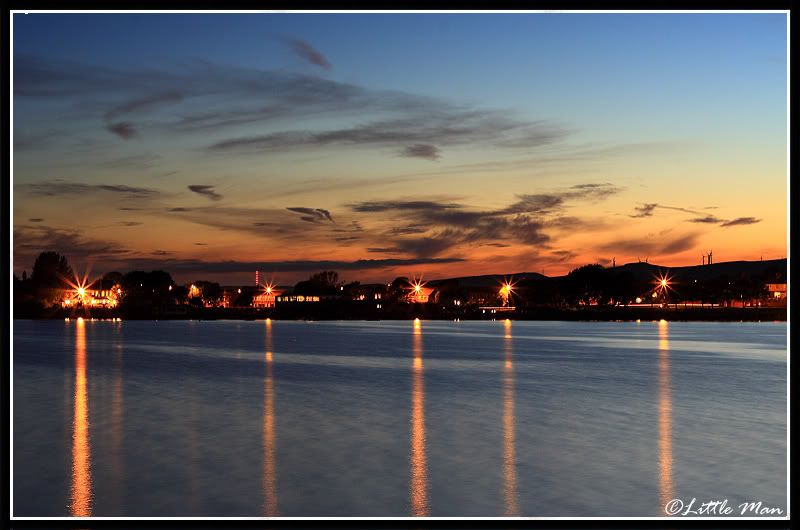
Hope this helps someone.